Learning Goals
At the end of this Tutorial, you will be able to:
- Install TailwindCSS for ReactJS
- Adding extensions for VS Code.
- Installing the SVG Heroicons from Tailwind.
Scaffolding with Vite
Follow these steps to scaffold your app structure with Vite.
-
In a terminal, navigate to where you want Vite to create a folder
for your app. For example:
C:\> react-stuff\apps
-
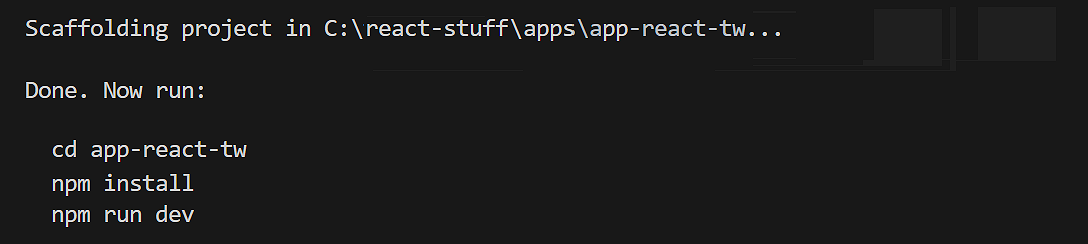
Enter the following command that includes the name you want to
call your new app. For example, app-react-tw:
npm create vite@latest app-react-tw -- --template react
-
Follow the on-screen instructions to build and launch your new
app.
Installing TailwindCSS
Follow these steps:
-
In a terminal, run this command:
npm install -D tailwindcss postcss autoprefixer -
Next, generate the configuration files:
npx tailwindcss init -p -
Update your tailwind.config.cjs file as follows:
module.exports = { content: [ "./index.html", "./src/**/*.{js,jsx,ts,tsx}", // Adjust this line to include any file types that might contain Tailwind classes ], theme: { extend: {}, }, plugins: [], } -
In your app /src folder, replace
all the content of index.css file with the
following:
/* layers */ @tailwind base; @tailwind components; @tailwind utilities;
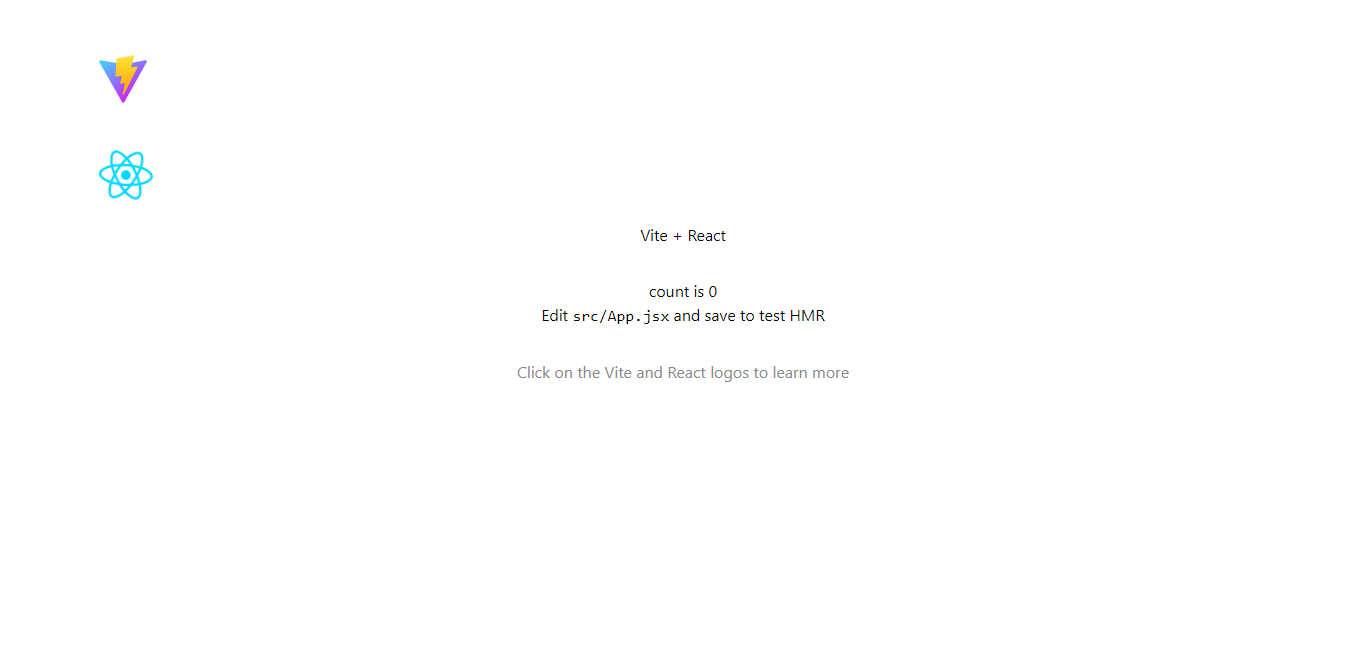
Start your app. In a browser, your app‛s default web page should now look as shown below.
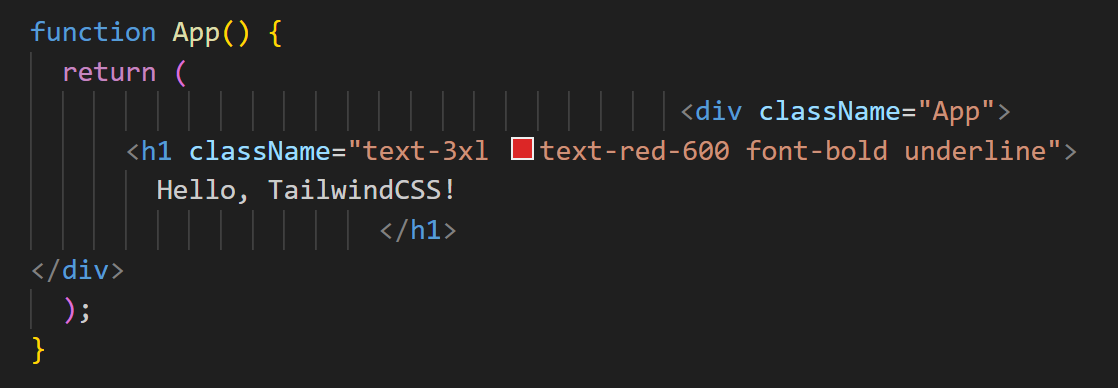
To check that TailwindCSS is working, update your App.jsx file as follows:
function App() {
return (
<div className="App">
<h1 className="text-3xl text-red-600 font-bold underline">
Hello, TailwindCSS!
</h1>
</div>
);
}Your browser should now display a screen like that below.

Installing VS Code extensions
VS Code offers two extensions you will find helpful when working with TailwindCSS:
- Tailwind CSS IntelliSense
- Prettier

With Prettier installed for VS Code, now follow these steps:
-
Install Prettier as a dev-dependency for your project:
npm i --save-dev --save-exact prettier -
Install the
Prettier plugin for Tailwind CSS
as a dev-dependency for your project:
npm install -D prettier prettier-plugin-tailwindcss -
In your root folder, create a new config file named
.prettierrc and add the content below it.
{ "plugins": ["prettier-plugin-tailwindcss"] }
This plugin will sort TailwindCSS classes in a logical order.
Verify Prettier is installed correctly by add some spacing to app.jsx as shown below:
Now run this command in your terminal:
npx prettier --write app.jsx
Prettier should now reformat your code correctly.
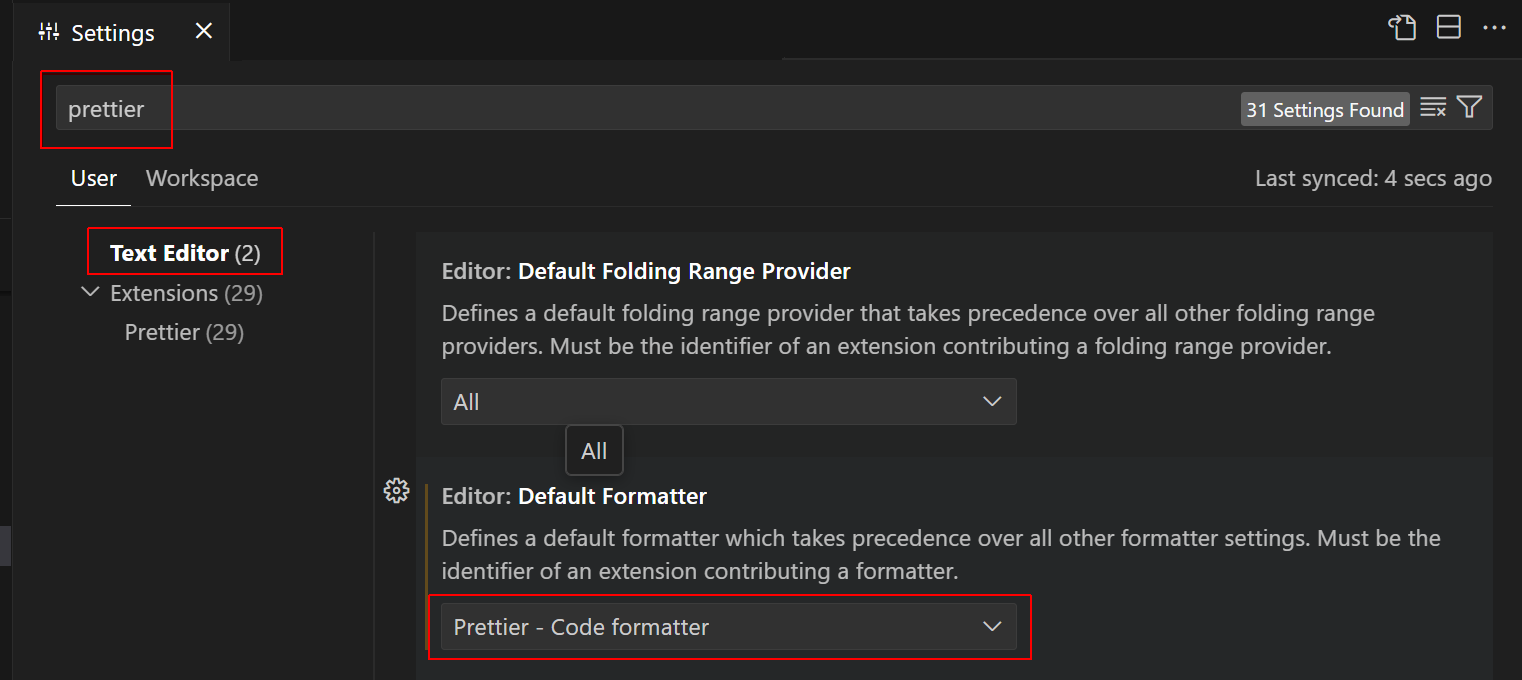
To update VS Code so that it automatically reformats code after every save, follow these steps:
- Restart VS Code.
-
In Settings, search for Prettier. In the
Text Editor section, choose
Pretter - Code formatter.
-
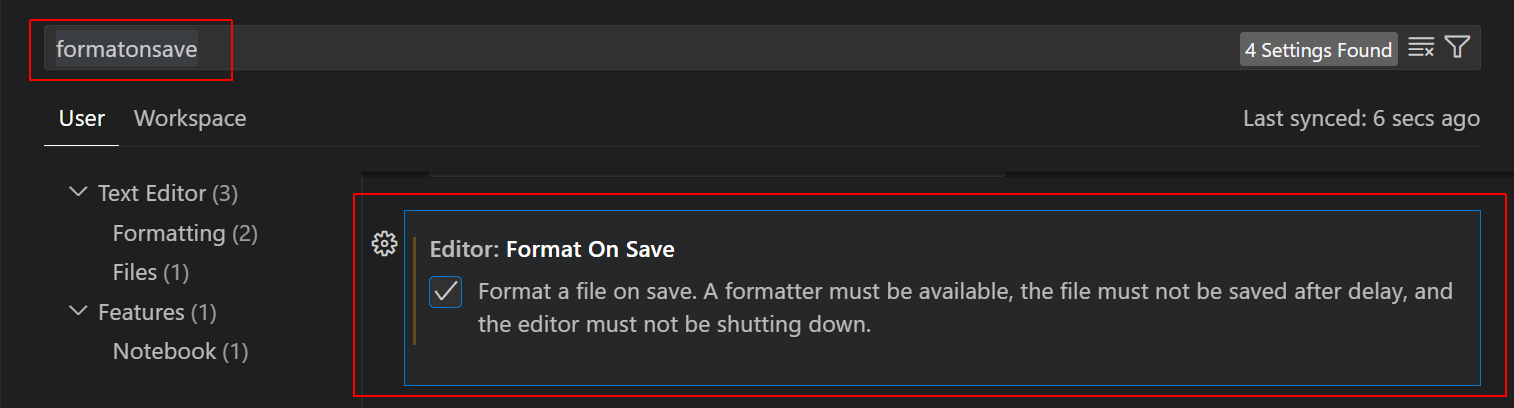
Next, search for formatonsave and check the box as shown
below.
You can now close the Settings tab.
Installing Heroicons
Heroicons is a set of 288 SVG icons created by the makers of Tailwind CSS. Install this icon set as follows:
In a terminal, run this command:
npm install @heroicons/react
Now you can import each icon individually as a React component. For example:
  import { BeakerIcon } from '@heroicons/react/24/solid'

  function MyComponent() {
      return (
        <div>
          <BeakerIcon className="h-6 w-6 text-blue-500" />
          <p>...</p>
        </div>
     )
  }