Learning Goals
At the end of this Tutorial, you will be able to:
- Build and deploy a single-page application for a personal portfolio website with ReactJS, TailwindCSS, and Flowbite.
Scaffolding with Vite
Follow these steps to scaffold your app structure with Vite.
-
In a terminal, navigate to where you want Vite to create a folder
for your app. For example:
C:\> react-stuff\apps
-
Enter the following command that includes the name you want to
call your new app. For example, app-react-portfolio-tw:
npm create vite@latest app-react-portfolio-tw -- --template react
-
Follow the on-screen instructions to build your new app.

Installing TailwindCSS and Flowbite
Follow these steps:
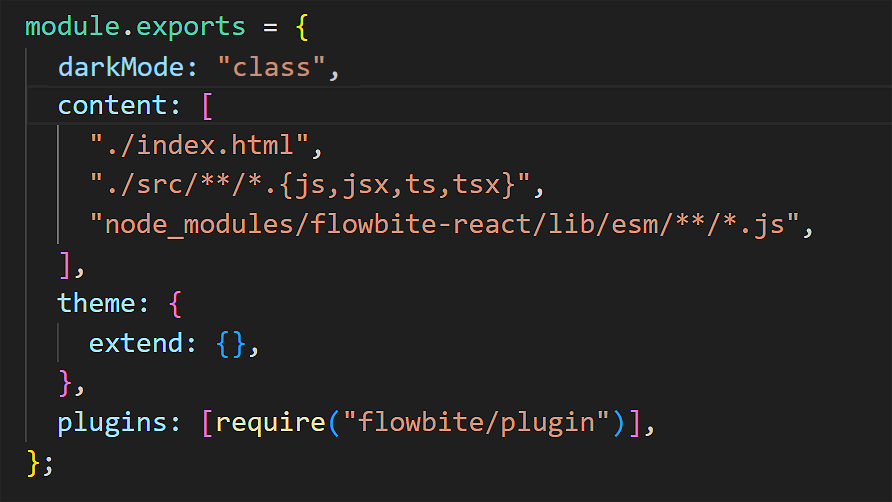
Your tailwind.config.cjs file should now look as follows:

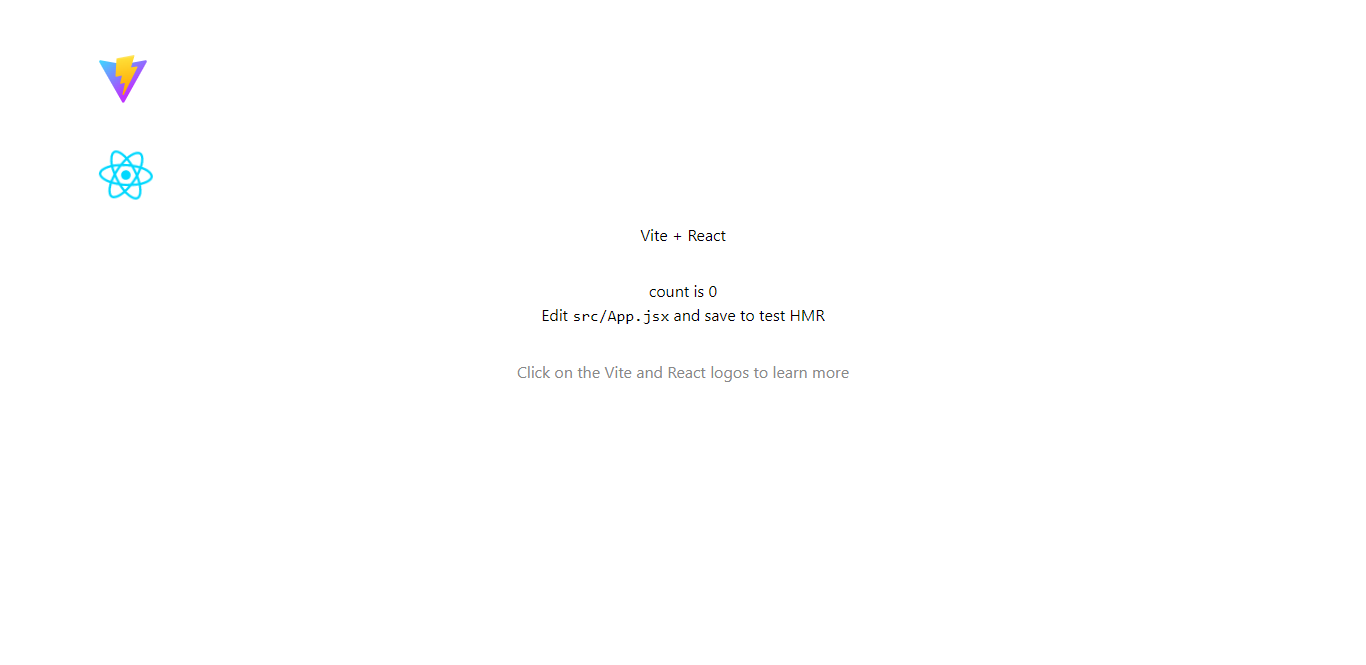
Start your app. In a browser, your app‛s default web page should now look as shown below.

Installing
react-router-dom
ReactJS does not natively support page routing. So you need to install the following package in your root app folder.
npm i react-router-dom
Downloading your ‘page’ components
Each ‘page’ in your portfolio website will be a component file, stored in a /pages sub-folder of your /src folder. Follow these steps
- In your /src folder, create a sub-folder named /pages.
-
Download these page components to this sub-folder:
Home.jsx
Portfolio.jsx
Contact.jsx
Privacy.jsx
-
Next, download these two global components to the same sub-folder:
NavbarApp.jsx
FooterApp.jsx
Downloading your image files
Follow these steps:
- In your /public folder, create a sub-folder named /images.
-
Download and unzip the following image files to this
sub-folder:
portfolio-images.zip
Adding a custom 404.html file
In your app root folder, create a custom 404.html file with a JavaScript snippet that redirects the user to the main application served from the root (/).
<!DOCTYPE html>
<html lang="en">
<head>
<meta charset="UTF-8">
<title>404 Not Found</title>
</head>
<body>
<h1>Page Not Found</h1>
<script>
window.location.href = "/";
</script>
</body>
</html>Updating your main.jsx file
Here are the steps to add routes for your four 'pages'.
-
Near the top of your main.jsx file, after the first two
import statements, add one more:
import { HashRouter as Router, Routes, Route } from "react-router-dom"; -
Inside the <React.StrictMode> tag pair, update the
<App /> component with the following code:
<Router> <Routes> {/* App component wraps around all the 'pages'. */} <Route path="*" element={<App />} /> </Routes> </Router>
Adding routes to your app.jsx file
Now, update app.jsx as follows:
-
Import four 'page' and two global components:
import Home from './pages/Home'; import Portfolio from './pages/Portfolio'; import Contact from './pages/Contact'; import Privacy from './pages/Privacy'; import NavbarApp from "./pages/NavbarApp"; import FooterApp from "./pages/FooterApp"; -
Next, import these two functions from react-router-dom:
import { Routes, Route } from 'react-router-dom'; -
Remove this stylesheet import:

-
Finally, update your <App> component as shown below.
Each Route now has a path and an
element prop:
function App() { return ( <> <NavbarApp /> <Routes> {/* Use Home component for the root path */} <Route index element={<Home />} /> <Route path="portfolio" element={<Portfolio />} /> <Route path="contact" element={<Contact />} /> <Route path="privacy" element={<Privacy />} /> </Routes> <FooterApp /> </> ); }
Tailwind grid layout
Flowbite does not include compoments for grid layouts. Refer to these links for creating grids in TailwindCSS:
Flowbite components
You may find the following Flowbite components helpful:
- Buttons
- Card
- Navbar
- Footer
- Flowbite Hero blocks
- Tailwind Elements Hero blocks
- Tailwind Hero blocks
- Footer
- Dark/Light Theme Switcher
See also Tailwind Snippets
Working with the Navbar
Follow these steps to use a Navbar component from Flowbite:
-
From the Flowbite React website, go to
this page
and copy the Navbar with CTA component.

-
Paste the component into your NavbarApp.jsx page, and
update the logo image and hyperlinks.

-
You can change the Navbar background colours as shown below.

Adding a dark/light theme switcher
Follow these steps to add a button to the Navbar that will switch your app theme between dark anf light.
-
Update your main.jsx file as follows:

-
Update your NavbarApp.jsx page component as shown below.


Adding a hero block to your home page
Follow these steps:
-
From the Flowbite React website, go to
this page
and copy the Visual image with heading component.

-
In your Home.jsx page component, paste the hero block over
the placeholder text.

- Replace class= with className= and close the img tag.
Theming in TailwindCSS
Tailwind provides a highly customizable configuration file (tailwind.config.js) that allows you to define your own colors, fonts, breakpoints, and much more. For example:
module.exports = {
  theme: {
    extend: {
      colors: {
        'brand-blue': '#007ace',
        'brand-red': '#ff4136',
      },
      fontFamily: {
        sans: ['Inter', 'sans-serif'],
        serif: ['Merriweather', 'serif'],
      },
    },
  },
}
With your theme customized, you can start using the custom utilities in your HTML. For example, to use a custom color:
<button class="bg-brand-blue text-white">Click me</button>
<p class="font-sans">This is some text with the custom sans-serif font.</p>